Tide Logo
Features

Business Tools

Company

Support

Offers

Tide Logo
Tide Logo


INVOICE GENERATOR

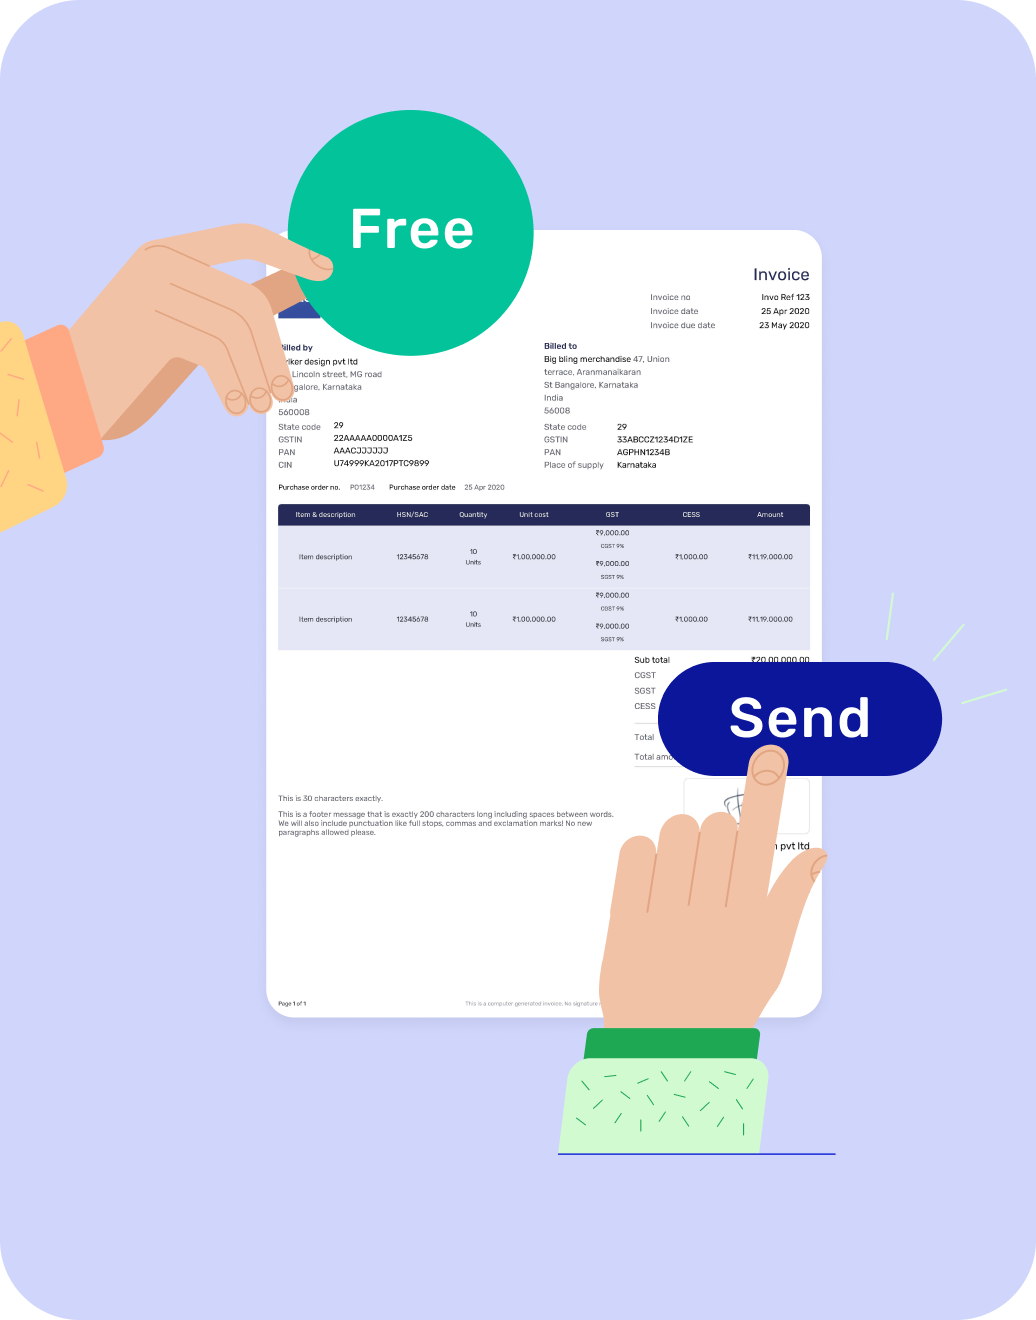
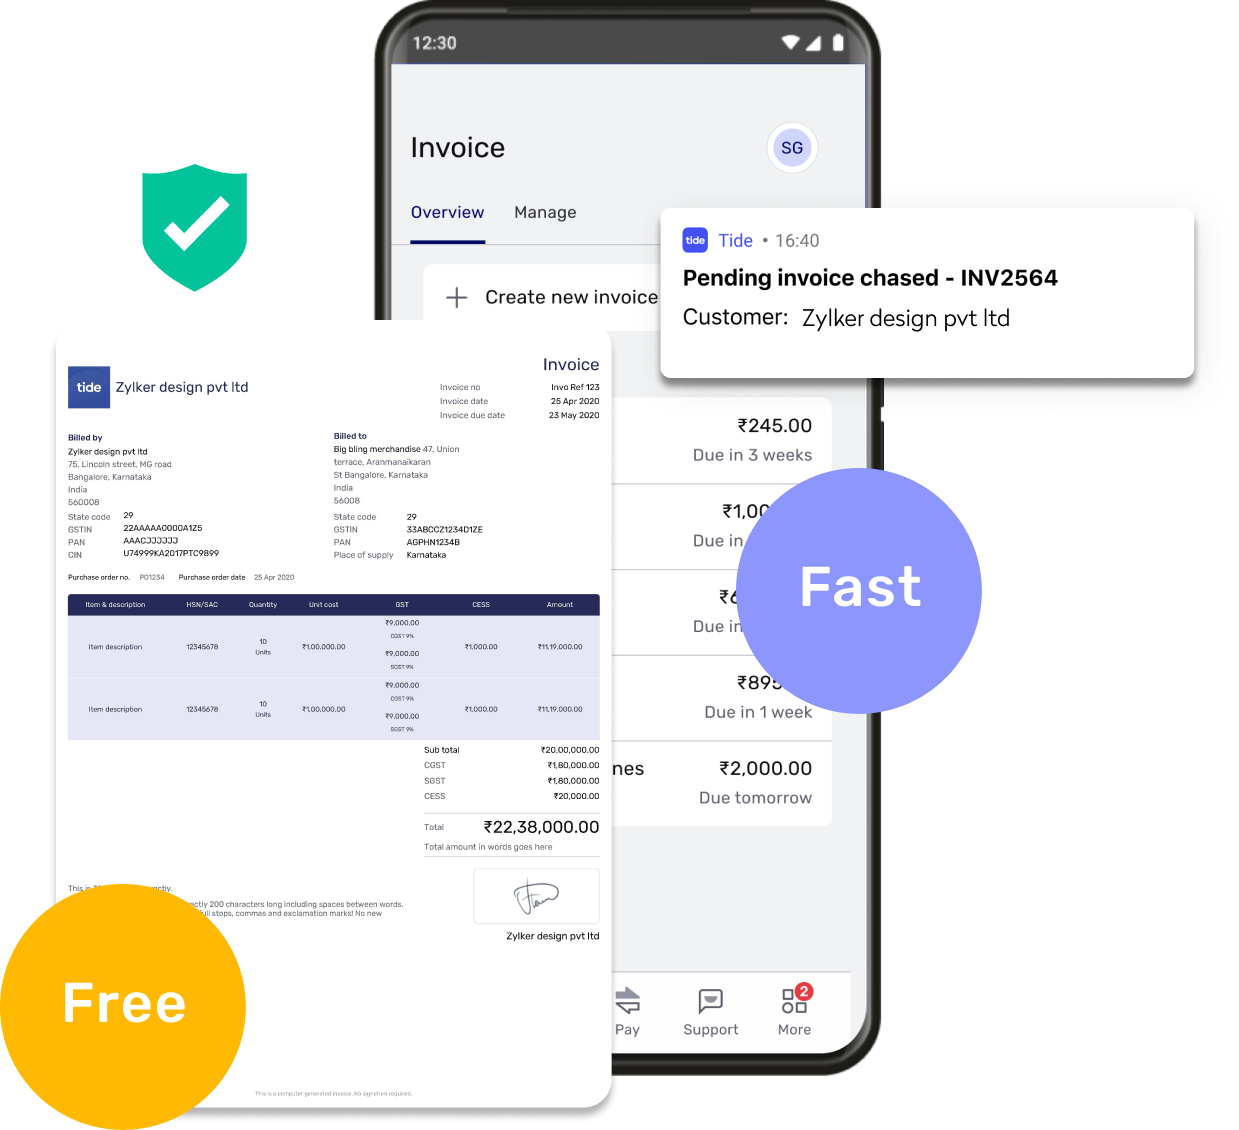
Say goodbye to paper bills! Create professional invoices in minutes.

  • Prebuilt invoice template to help you create GST-compliant invoices and save time

  • Track and manage invoices to stay organised

  • Personalise your invoices and create a bespoke experience for your customers

Get started

null

All your invoicing needs in one place

Create and send GST-compliant invoices on-the-go

Expedite payments and effortlessly monitor cash flow

Grow your brand and build trust

Send automated reminder emails for unpaid invoices

How to create an invoice on the Tide app

Let’s kick off your invoicing process with our feature that not only promotes professionalism but also helps you grow your brand and build trust with your customers:

  1. Open Tide App > Tap Invoice

  2. Tap on the ‘Manage‘ tab, then ‘Template

  3. Add your contact details, GSTIN(if Applicable), & customize your invoice with a logo

  4. Go back to ‘Overview‘ tab & tap on ‘Create new invoice‘ then tap on ‘Add customer

  5. Add invoice details, including the due date and category

  6. Tap ‘Preview‘ to see what the invoice will look like

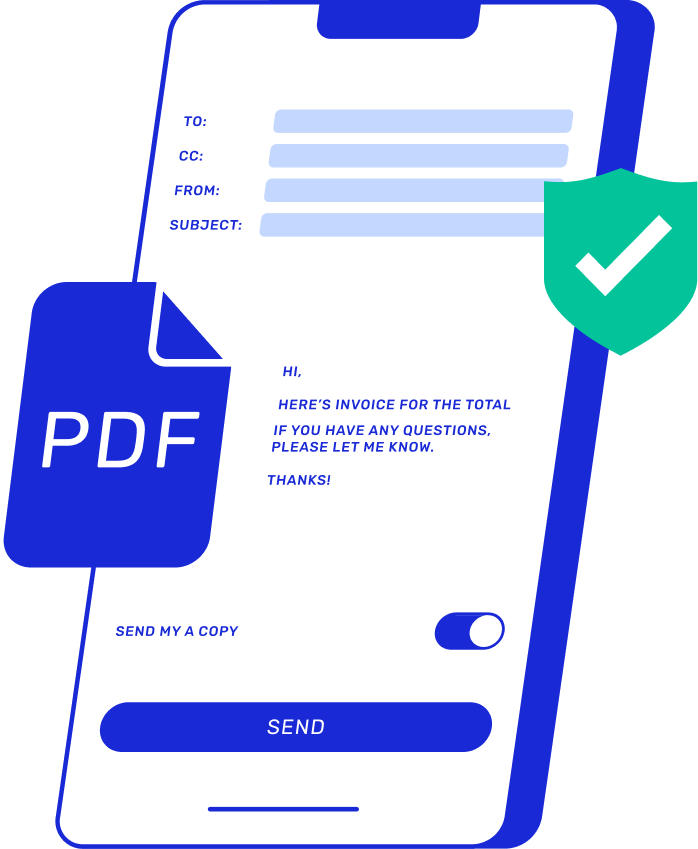
  7. Tap ‘Send‘ and your customer will receive the invoice as a PDF

Get started

null

Ensure speedy payments and keep track.

Stay in control of your cash flow with Tide.

  • Showcase the goods and services provided by you to your customers

  • Create and send GST-compliant invoices

  • View overdue invoices and mark invoices as paid for better financial management

null

Invoicing is now a breeze

Small business invoicing is now made easy. Manage your customers better, and focus on what you do best.

  • Send invoices directly from the Tide app

  • Create fast and professional invoices with prebuilt invoice template

  • Seamlessly raise invoices with effective customer management

null

Get repeat customers

Build a strong brand image

  • Add logos and branding to build trust

  • Personalise your invoices to give a bespoke experience to your customers

null

Hassle-free invoicing for your business

Simply create your free invoice template just once and you’re ready to go. It’s all set up for repeat use for you to invoice your customers with ease.

Frequently asked questions

Yes. The invoicing feature is free for all Tide members. You can create and send invoices and customise them with your company logo.

It’s easy. Here are the steps:

  1. Open your Tide app and go to ‘Invoice’.

  2. Tap on ‘Manage’ at the top, and then on ‘Template’.

  3. Fill in your email’, phone number’ and other relevant details.

  4. Go back to the ‘Overview’ tab and begin by tapping on ‘Create new invoice’

  5. Add your customer’s details, items (with GST, if needed) and other details.

  6. Select ‘Preview’ in the email view to see how your invoice pdf looks.

  7. Send the email to your customer with the Invoice PDF as an attachment.

Yes, absolutely. Follow these steps:

  1. Open your Tide app and go to ‘Invoice’.

  2. Tap on ‘Manage’ at the top, and then on ‘Template’.

  3. Add your GST number in the ‘GSTIN’ field.

  4. Go to ‘Invoice’ and create a new invoice.

  5. Add customer details, items with relevant GST rates, the due date and other details.

  6. Send the invoice to your customer.

Yes, here’s how. After sending an invoice via email to your customer, you can open the same invoice from the ‘Outstanding’ view. Next, tap on View PDF’. You will see a share icon at the top right corner of the PDF. Tap on it to share the invoice via other apps, including WhatsApp.

Yes, invoices can be cancelled after they have been sent (and before they are paid) in 3 quick steps:

  1. Select the invoice from the ‘Outstanding’ view.

  2. Tap on ‘Cancel Invoice’.

  3. Review and send the cancellation email (your invoice won’t be cancelled if you don’t complete this step).

Currently, invoices can only be created on Android devices.

No. You can cancel and reissue an invoice with the correct details. However, we’re working on solutions to allow you to edit invoices in the future.

Verified details like your company name, address and PAN numbers are auto-populated (from our records) and cannot be changed. But you can update your email address & phone number by following these steps:

  1. Open your Tide app and go to ‘Invoice’.

  2. Tap on ‘Manage’ at the top, and then on ‘Template’.

  3. Update the email and phone number fields, as needed.

Yes, it’s easy to add your logo to your invoices. Follow these steps:

  1. Open your Tide app and go to ‘Invoice’.

  2. Tap on ‘Manage’ at the top, and then on ‘Template’.

  3. Choose to add or replace the logo.

  4. Upload the logo from your files.

Currently, you can’t change the template design, but you can change these in your invoice settings:

  • Company logo

  • Email address

  • Phone number

  • GSTIN

  • Default due date

Follow these steps to change your invoice settings:

  1. Open your Tide app and go to ‘Invoice’.

  2. Tap on ‘Manage’ at the top, and then on ‘Template’.

To see how your invoice looks after you’re done changing invoice settings, follow these steps:

  1. Open your Tide app and go to ‘Invoice’.

  2. Tap on ‘Manage’ at the top, and then on ‘Template’.

  3. Select ‘Preview’.

Here’s what to do to edit your customers’ details:

  1. Open your Tide app and go to ‘Invoice’.

  2. Tap on ‘Manage’ at the top, and then on ‘Customers’.

  3. Tap on the name of the customer whose details you want to change.

  4. Edit their details and save the changes.

To add GST to invoices you create in your Tide app, you’ll need to add your GST number to your profile. Here’s what to do:

  1. Open your Tide app and go to ‘Invoice’.

  2. Tap on ‘Manage’ at the top, and then on ‘Template’.

  3. Go to the ‘GSTIN’ field and add your GST number.

Now, you’ll be able to choose the GST rate for each invoice you create. The invoice PDF generated will have your GST number.

Here’s how you can mark an invoice as paid:

  1. Go to Invoice.

  2. Select an invoice.

  3. Tap ‘Mark as Paid’.

  4. Select the relevant transaction (from your list of incoming transactions/credit transactions) and tap Confirm.

Follow these steps to mark multiple invoices as paid:

  1. Go to ‘Invoice’.

  2. Select an invoice by long-pressing, or go to the Actions menu (top right) and tap on ‘Select’. You can select up to 100 invoices.

  3. Tap the ✔ to mark the selected invoices as paid.

Currently, you cannot add payment account details to invoices. But you will soon be able to automatically add your UPI IDs/QR Codes to an invoice.

No payment method is available on Invoice until end of June’2023. After that we will be rolling out UPI functionality within Tide which can be used as a part of the invoice sent to customer. Customer can use that to make payment for your invoice.

We’re working on this! We will soon be rolling out UPI functionality, which will allow your customers to make payments for your invoices.

We advise you to be careful while entering your GST number on the invoice template page. If you enter the wrong GST number in the template settings, your invoices will also carry the wrong GST number. In turn, your customers may use the incorrect GST number, and you may not be able to claim input tax credit on the same.

Unfortunately, you can’t do that in your Tide app at the moment. However, you can verify the GST number and get the business details of your customers like their business name, business location, state and local centre, date of registration, and business constitution by searching their GST number on the government’s GST portal: Goods & Services Tax (GST) | Services.

We do not have such a provision available on Tide Invoicing at the moment (Q2’23). Until we introduce it, you can use the government’s GST portal to find the right HSN or SAC code for goods or services: Goods & Services Tax (GST) | Services.

Get started with Tide

Fill out this form and we'll get back to you

null